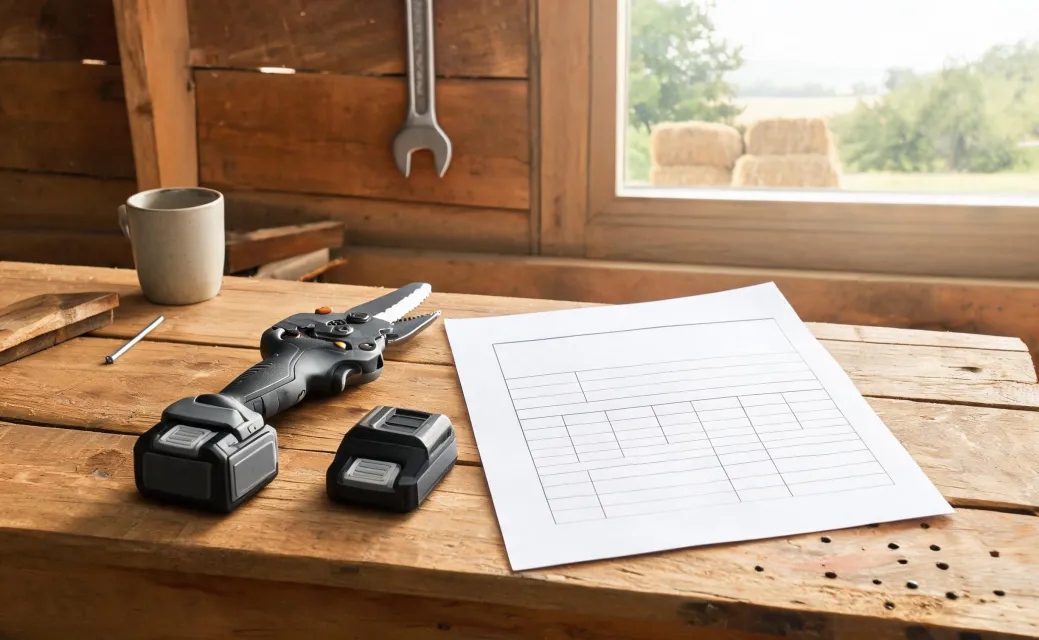
Reaching for a solvent or a degreaser is the quickest way to strip sap off a pruning shear blade, and it is the mistake that takes the longest to pay for. The Milwaukee M12 2534-20 operator manual draws the line in one sentence: certain cleaning agents and solvents are harmful to plastics and other insulated parts. Sap comes off either way. The plastic housing and the insulated parts underneath are what absorb the difference.
Keep the scope narrow, because this is a specific tool with a specific manual: the Milwaukee M12 2534-20 and the cleaning instructions printed for it. Those instructions are short. Close the blades and remove the battery pack any time the tool is not in use. Clean dust and debris from any vents. Use only mild soap and a damp cloth. Keep the tool clean, dry, and free of oil or grease. Nothing in there asks for a stronger chemical, because the housing is the first surface any cleaner reaches, and a housing that fails takes the whole tool out of rotation.
The Solvent Habit That Attacks Plastic Parts
Suppose a crew comes in at the end of a shift with sap welded to the blades and grit packed around the housing. Somebody grabs the spray degreaser off the shelf because it works on everything else in the shop. The blade comes up bright and the tool looks better than it did at sunrise. That is the trap. How fast a cleaner takes sap off a blade tells you nothing about what it does to the plastics, the insulation, and the seams it drips into on the way down.
The damage does not announce itself as dirt, which is why the habit survives. It shows up later as a housing that cracks, a switch that goes sticky, or an insulated part that stops insulating. None of that gets caught by the person holding the rag, and none of it shows up the same day, so the solvent gets the credit and the repair bill lands somewhere else.
The replacement for the solvent habit is a change in sequence rather than a weaker bottle: energy out of the tool first, loose debris out before any liquid goes on, a wipe that stays within what the manual allows, then a dry finish. Order matters more than product choice here. A rag near a live tool is its own problem, separate from anything a cleaner does, and it is the one you settle before the bottle comes off the shelf.
A 2534-20 does not need a stronger solvent. It needs the cleaner its manual allows, applied in the order the manual implies. The blades are the part everybody looks at, every day. The plastics and the insulated parts are the part nobody inspects until they let go.
Your Four-Part Cleaning Framework
The routine that works has four stages, and each stage exists to make the next one safe rather than to look thorough.
Isolate first. Blades closed, battery pack out, every time the tool is not in use. The effect is straightforward: nothing can start while your hand is at the blade gap, and nothing is live while a damp cloth is working near the housing.
Clear the vents second, while everything is still dry. What that buys you is debris leaving the tool instead of heading further into it, and the reason a dry first pass matters so much is worth spelling out on its own.
Wipe third, and only after the loose material is gone. Wiping first means dragging grit across the housing in circles, which is polishing with an abrasive you supplied yourself.
Inspect and store fourth. The finish state the manual asks for is a dry, clean tool, and its maintenance instruction asks for an inspection pass before the tool goes away. The effect of putting inspection last is that the tool reaches the shelf already checked, so the next shift starts with a known quantity instead of a surprise.
One caution about the framework. It is built from separate instructions in the manual, stitched into an order that makes sense on a bench. The manual does not number these stages. What it is plain about are the two ends: the tool is not in use while it is being cleaned, and it goes away clean, dry, and checked.
Why a Stronger Solvent Is the Wrong Tool
Strength is not the variable that matters here.
Because the manual warns that certain cleaning agents and solvents are harmful to plastics and other insulated parts, cleaning power cannot be scored on how fast the sap lets go, since the surface underneath is part of the test and it is the part nobody watches. The reason mild soap is named separately while solvents get a warning is that the goal is a cleaner the housing can tolerate, not a cleaner that dissolves the toughest film, and a product that wins on speed while eating the mount has not solved your problem, it has moved it.
Which means a faster strip can trade a clean blade this afternoon for a cracked mount or a compromised insulated part next season, and the trade stays invisible at the moment you make it.
It comes down to what the cleaner keeps touching after the sap is gone. Blades get wiped and looked at. Housings get wiped and forgotten.
If a shop wants a rough screen, imagine leaving a thin film of the product on the housing until morning. A cleaner you would not want sitting on that plastic overnight has no business being wiped across it at the end of a shift.
Clear the Vents Before You Wipe
A vent is an opening, not a surface, and that changes the order of work. Vents exist because the tool moves air through the housing, and debris in a passage narrows it. Dust sitting in a slot is loose material; add moisture and it packs, and a cloth dragged across the outside pushes the packed material deeper before it lifts anything out.
The manual asks for dust and debris to be cleaned from any vents and stops there. It does not name a brush, a vacuum, or an air pressure level, so the choice of tool is yours and the only test that counts is whether it lifts material out or drives it in. Which means the first pass over a vent should be dry and should be pulling debris away from the opening, not scrubbing across it.
Do this before the wipe, not after. Once the exterior is damp, the debris you just dislodged has somewhere to stick, and you end up handling the same material twice.
Mild Soap and a Damp Cloth Only
What goes on the tool is mild soap and a damp cloth, and the manual is specific about the finish state: clean, dry, and free of oil or grease. The three parts of that line work together. Mild soap loosens the film without attacking the plastic. A damp cloth limits how much liquid can travel into seams and vent slots. Drying finishes the job, so nothing sits wet against a housing overnight.
Take the oil and grease part literally on the exterior. An oil film on a housing collects dust, which means a surface you just cleaned starts gathering the same debris you cleared out of the vents. That sentence is not a lubrication instruction, and the manual never lists approved cleaners either, so there is no approval list to check a product against. Silence is not permission. Stay with what the manual names.
A wrung-out cloth also beats a wet one on plain physics. Liquid that runs carries debris into places you cannot see, and a tool that is supposed to stay dry inside is a bad place to learn where the water went.
The End-of-Shift Inspection That Prevents Downtime
The manual treats maintenance as a program covering the tool, the battery pack, and the charger, and it hands over a short inspection list: undue noise, misalignment or binding of moving parts, breakage of parts, or any other condition that may affect the tool's operation. That list reads like it was written for the end of a shift, when the tool is going into storage anyway.
The operational logic is easy to state. A binding blade found at the end of the shift is a scheduling decision, because you still have time to call, to swap tools, to book service. The same binding found at the start of a job is a crew standing around. Downtime prevention comes down to inspecting before the tool is put away, not before it is picked up.
The remedy in the manual is not a field repair. When something on that list turns up, the instruction is to return the tool, the battery pack, and the charger to a Milwaukee service facility. That is a supply question as much as a maintenance one. If a 2534-20 is your only shear, you need either a second unit or a service turnaround you can live with, and both are decisions made before the failure, not during it.
Where the Manual Stops and Judgment Starts
What the manual does not do is worth knowing in the same detail. It does not name a single approved solvent or brand of cleaner. It does not give a cleaning frequency. It does not say how much service life a clean tool buys. There is no independent comparison test behind this routine and no measured downtime figure, so treat any cleaner the manual does not name as unverified on this model, including the ones a neighboring operation swears by on a different brand.
For a buyer, that becomes three questions worth asking before the tool ships. Get the operator manual for the exact model you are buying, not the family name on the catalog page, because the cleaning language is model-specific. Ask the manufacturer or your dealer whether the cleaner your shop already stocks is compatible with the plastics and insulated parts on that model. And ask what the service route looks like, since returning the unit is the manual's answer to a fault, not a rebuild in your own shop.
Then run the first pass today: isolate the tool, clear the vents dry, wipe the housing and blades with a wrung-out mild-soap cloth, dry it, and look for binding, misalignment, cracks, or a noise that was not there last week. Anything on that list goes to Milwaukee service, which is the one call that keeps a shear in rotation instead of on a shelf.